Blog

How to Prepare for a DIY Pergola (Before You Start Building)
How to Prepare for a DIY Pergola (Before You Start Building)
Building a DIY pergola is one of the most effective ways to upgrade your outdoor space. Whether you’re creating a covered patio, a shaded entertaining area or simply adding value to your home, good preparation is what makes the project successful.
Before you start installing posts and beams, there are a few important things to get right.
1. Define the Purpose of Your Pergola
Start with a simple question: what will you use the pergola for?
- Outdoor dining area
- Carport or covered parking
- Backyard relaxation space
- Walkway or side access cover
Your purpose will influence everything — size, height, materials and structure type.
For example, a carport requires stronger structural components compared to a light garden pergola.
2. Choose the Right Location
Selecting the right location is more important than most people think.
Consider:
- Sun direction (morning vs afternoon exposure)
- Wind exposure
- Drainage and water flow
- Distance from the house
- Access for installation
If your pergola is attached to the house, make sure the connection point is structurally sound.
For freestanding designs, check that the ground is level and suitable for footings.
3. Check Council Requirements (Australia)
In Australia, some pergolas may require council approval depending on:
- Size and height
- Location on the property
- Whether it is attached or freestanding
It’s always a good idea to check with your local council before starting, especially for larger structures like carports.
This step can save you time, cost and potential issues later.
4. Select the Right Materials
Choosing the right materials will determine how your pergola performs over time.
Steel vs Aluminium
- Galvanised steel
Stronger and more suitable for structural applications - Aluminium
Corrosion-resistant, low maintenance, ideal for coastal areas
Roofing Options
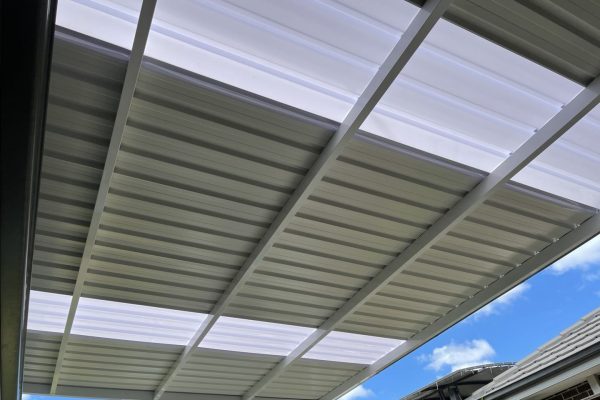
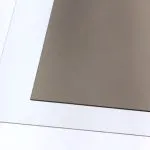
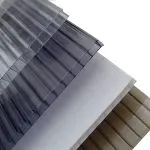
- Polycarbonate
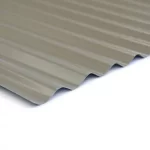
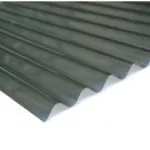
Allows natural light, modern look - Colorbond® steel
Solid coverage, stronger shading and heat protection
Your choice depends on how much light, protection and maintenance you want.
5. Plan Your Structure Properly
Before purchasing materials or a kit, make sure you understand the structure:
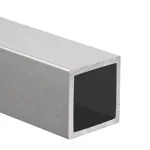
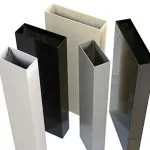
- Post size (e.g. 100×100 vs 80×80)
- Beam spans and support requirements
- Number of posts required
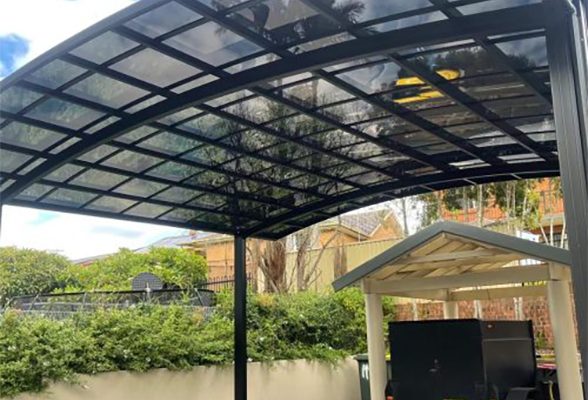
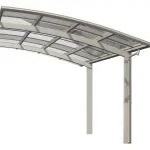
- Roof type (flat or curved)
A common mistake DIY users make is underestimating load requirements or choosing posts that are too small.
6. Prepare Tools and Installation Setup
Even with a DIY kit, you still need basic tools:
- Drill and fixings
- Level and measuring tools
- Ladder or working platform
- Concrete tools (if setting posts in ground)
Also think about:
- Access to the site
- Space for materials delivery
- Assistance (some installations require 2 people)
7. Consider Pre-Designed DIY Kits
If you want to simplify the process, a DIY pergola kit can save significant time.
A well-designed kit typically includes:
- Posts and beams
- Roofing materials
- Fixings and accessories
- Installation guide
This removes the need to source everything separately and reduces the risk of missing components.
👉 View pergola kits:
https://kbms.com.au/product-category/pergolas/
8. Avoid Common DIY Mistakes
Before you start, keep these in mind:
- Choosing the wrong post size
- Ignoring ground conditions
- Not allowing for water drainage
- Underestimating installation complexity
- Skipping planning and measurements
Good preparation prevents costly fixes later.
Final Thoughts
A DIY pergola doesn’t have to be complicated — but it does require proper planning.
By understanding your needs, choosing the right materials and preparing your site correctly, you can complete your project with confidence and achieve a clean, professional result.
Checkout our DIY Pergolas range: https://kbms.com.au/product-category/pergolas/